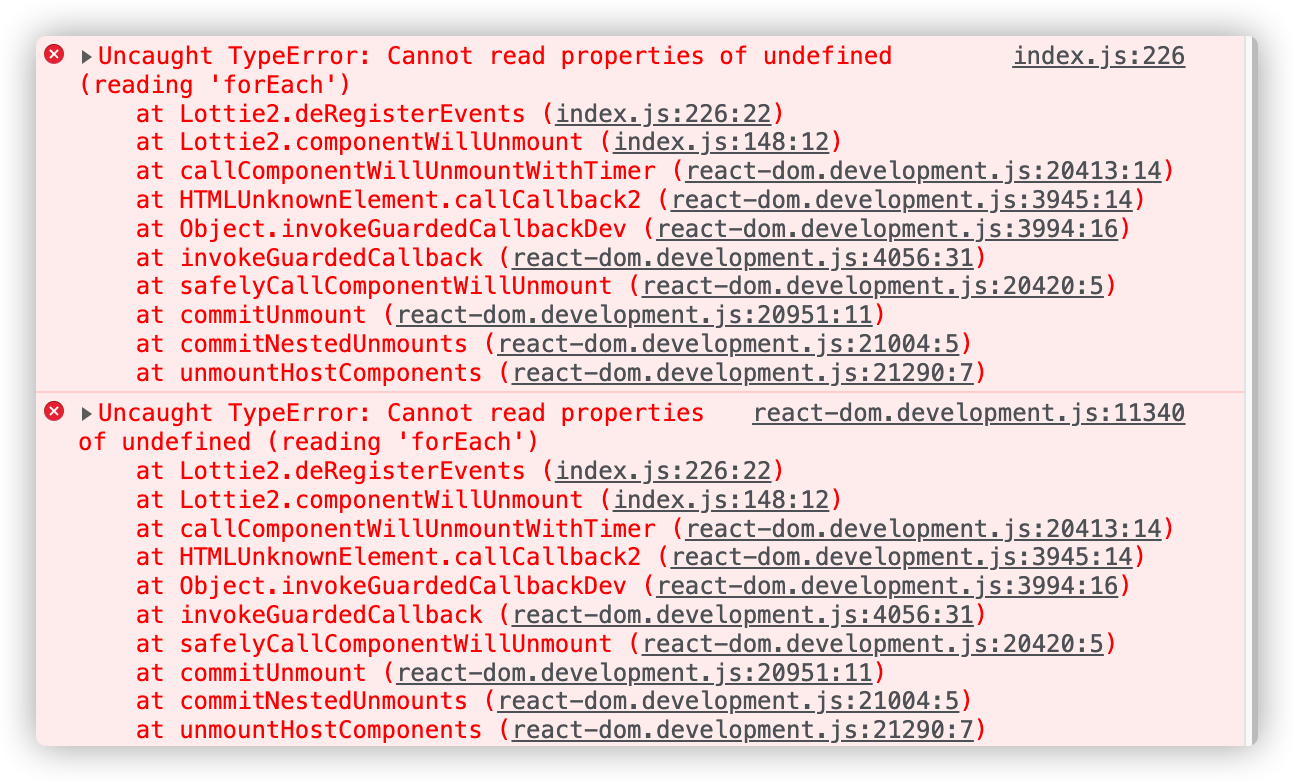
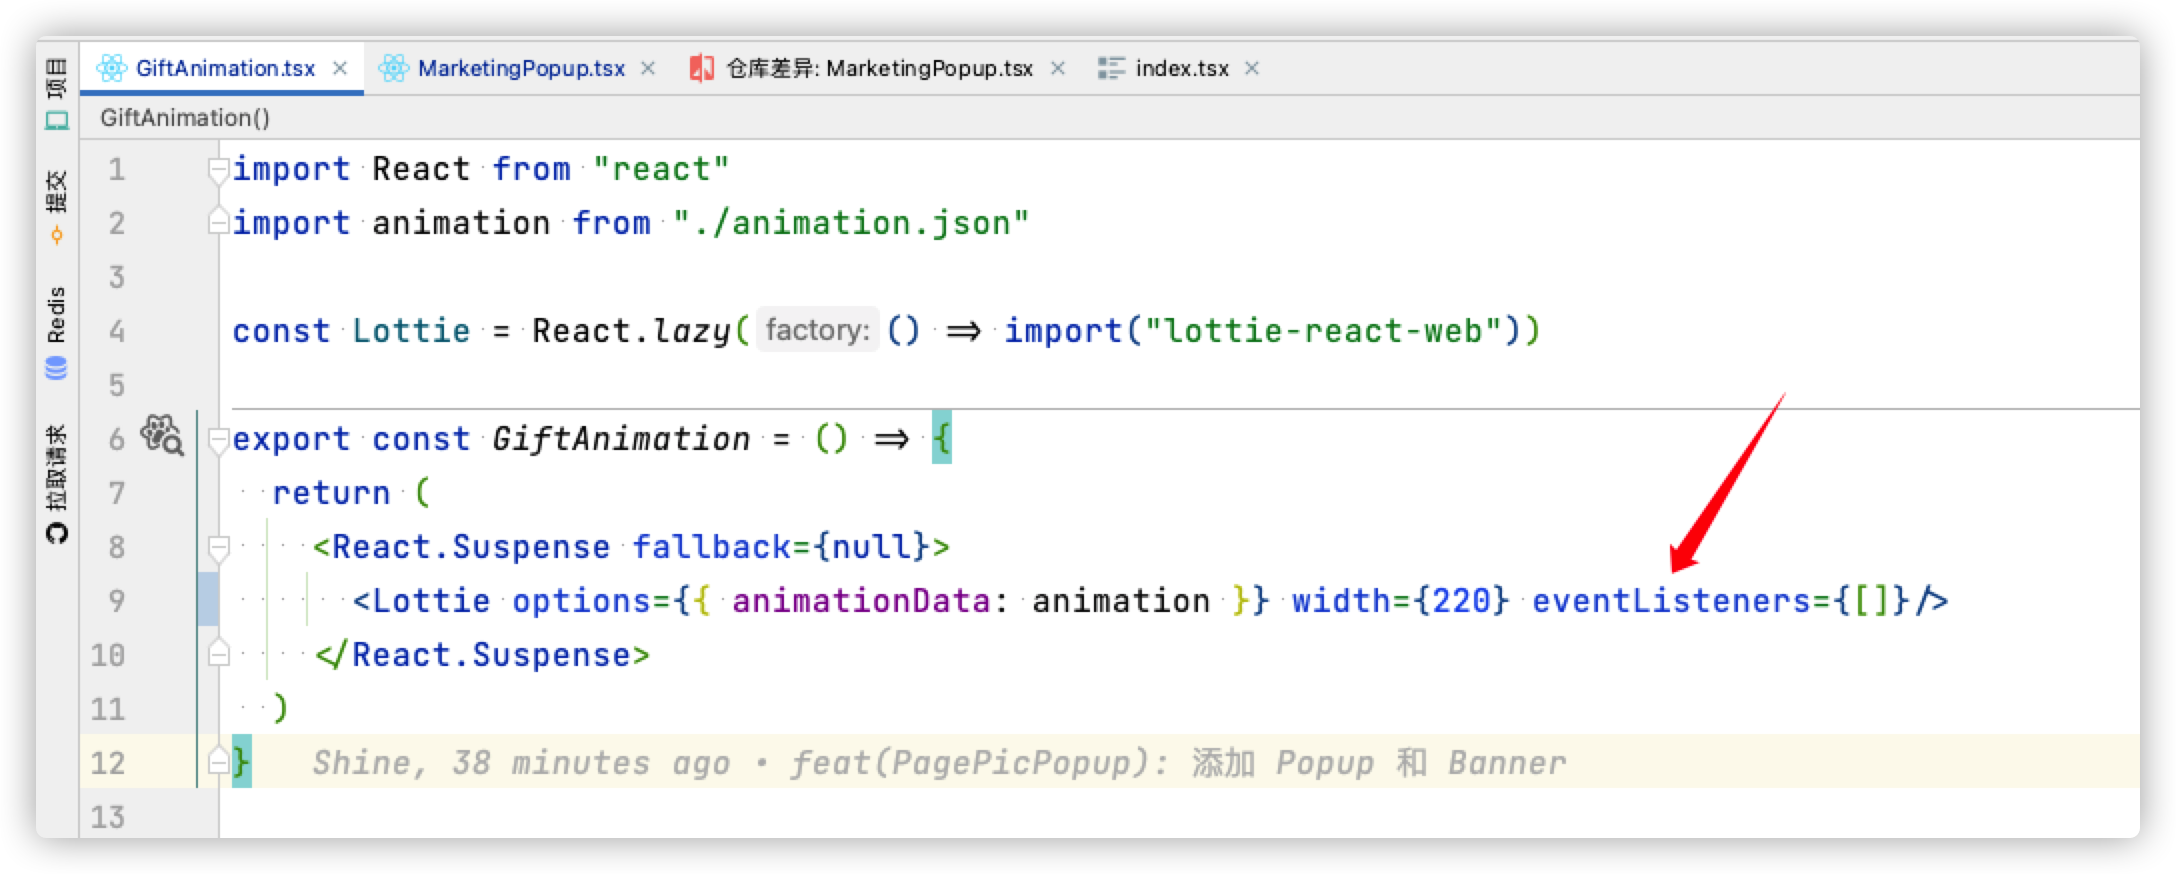
lottie-react-web 报错: Uncaught TypeError: Cannot read properties of undefined (reading 'forEach') 作者: Shine 时间: 2022-10-29 分类: React 评论 ## 错误信息 ``` Uncaught TypeError: Cannot read properties of undefined (reading 'forEach') at Lottie2.deRegisterEvents (index.js:226:22) at Lottie2.componentWillUnmount (index.js:148:12) at callComponentWillUnmountWithTimer (react-dom.development.js:20413:14) at HTMLUnknownElement.callCallback2 (react-dom.development.js:3945:14) at Object.invokeGuardedCallbackDev (react-dom.development.js:3994:16) at invokeGuardedCallback (react-dom.development.js:4056:31) at safelyCallComponentWillUnmount (react-dom.development.js:20420:5) at commitUnmount (react-dom.development.js:20951:11) at commitNestedUnmounts (react-dom.development.js:21004:5) at unmountHostComponents (react-dom.development.js:21290:7) ```  ## 问题原因 查看报错信息,似乎指的是 `eventListeners` 变量不是一个数组或不存在  ## 解决方案 加上这个属性并给一个空数组即可 `eventListeners` ```react <Lottie options={{ animationData: animation }} width={220} eventListeners={[]}/> ``` 
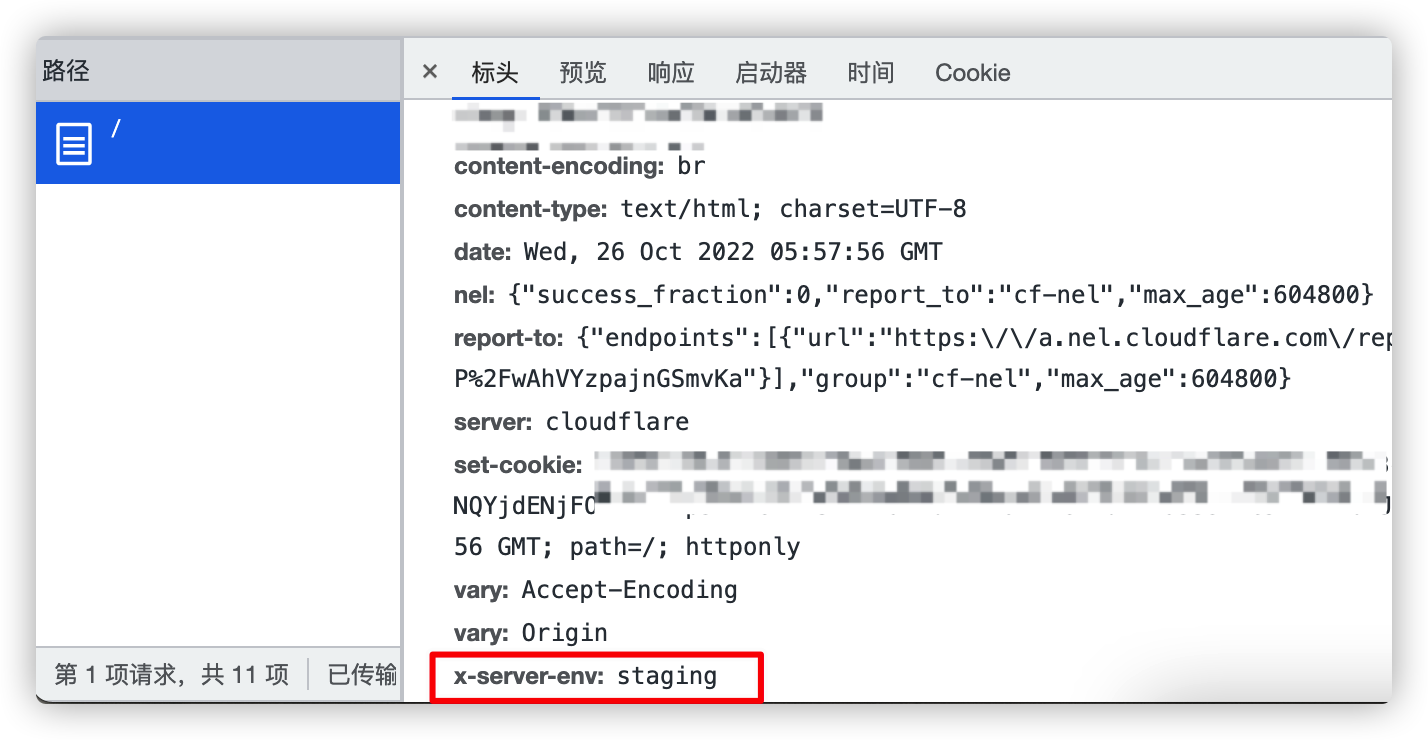
Nginx 根据 Cookie 的值来判断访问哪个环境(预发布、生产) 作者: Shine 时间: 2022-10-26 分类: Nginx 评论 ## 背景 **预发布环境**是新版本上线前的一道保障,但是如切换 `hosts` 的方式去测试会有诸多不便,可能会阻碍了测试、开发人员进行测试。所以想出使用此方法,自认为是比较好进入**预发布环境**的方法之一。 ## 使用说明 主要实现逻辑在这里:[L27 - L33](https://gist.github.com/PrintNow/4814c757d8f598496e24fe9acdb15c39#file-nginx-view-mulite-env-conf-L27-L33) 具体的还需要各自的需求修改 `$_proxy_pass` 变量 1. 访问 `/.env/staging` 路径,然后再打开**绑定的域名**,就会进入*预发布环境* 2. 访问 `/.env/remove` 路径,然后再打开**绑定的域名**,就会进入默认环境,也就是*生产环境* ## 如何确定访问的是哪个环境? 按照上面的 Nginx 配置,访问对应的环境可以在 HTTP Headers 看 [`X-Server-Env` 字段](https://gist.github.com/PrintNow/4814c757d8f598496e24fe9acdb15c39#file-nginx-view-mulite-env-conf-L35)  ---- 详情请查看:https://gist.github.com/PrintNow/4814c757d8f598496e24fe9acdb15c39
Docker 更新已经创建容器的相关配置 作者: Shine 时间: 2022-10-18 分类: Docker 评论 有时候创建容器时忘记加上 `--restart=always`,导致当服务器重启、Docker 重启,容器未能自启动,导致服务不可用。这时候可以通过 `docker update`命令来更新容器的配置。 查看 `docker update` 支持哪些操作 ```shell ➜ ~ docker update --help Usage: docker update [OPTIONS] CONTAINER [CONTAINER...] Update configuration of one or more containers Options: --blkio-weight uint16 Block IO (relative weight), between 10 and 1000, or 0 to disable (default 0) --cpu-period int Limit CPU CFS (Completely Fair Scheduler) period --cpu-quota int Limit CPU CFS (Completely Fair Scheduler) quota --cpu-rt-period int Limit the CPU real-time period in microseconds --cpu-rt-runtime int Limit the CPU real-time runtime in microseconds -c, --cpu-shares int CPU shares (relative weight) --cpus decimal Number of CPUs --cpuset-cpus string CPUs in which to allow execution (0-3, 0,1) --cpuset-mems string MEMs in which to allow execution (0-3, 0,1) --kernel-memory bytes Kernel memory limit -m, --memory bytes Memory limit --memory-reservation bytes Memory soft limit --memory-swap bytes Swap limit equal to memory plus swap: '-1' to enable unlimited swap --pids-limit int Tune container pids limit (set -1 for unlimited) --restart string Restart policy to apply when a container exits ``` ## 修改容器的重启策略 语法如下,*container_name*、*container_id* 仅需要传入任意一个即可: ```shell docker update --restart=always <container_name | container_id> ``` *container_name*、*container_id* 可以使用 `docker ps` 查看获取 ```shell CONTAINER ID IMAGE COMMAND CREATED STATUS PORTS NAMES 4f358a08b3b5 snowdreamtech/frpc "/bin/sh -c '/usr/bi…" 4 weeks ago Up 25 hours frpc_nowtime-test ``` ### 示例 ```shell docker update --restart=always b631b689edb0 ``` ### 更多的使用方法请参考 docker update 命令的官方文档 https://docs.docker.com/engine/reference/commandline/update/
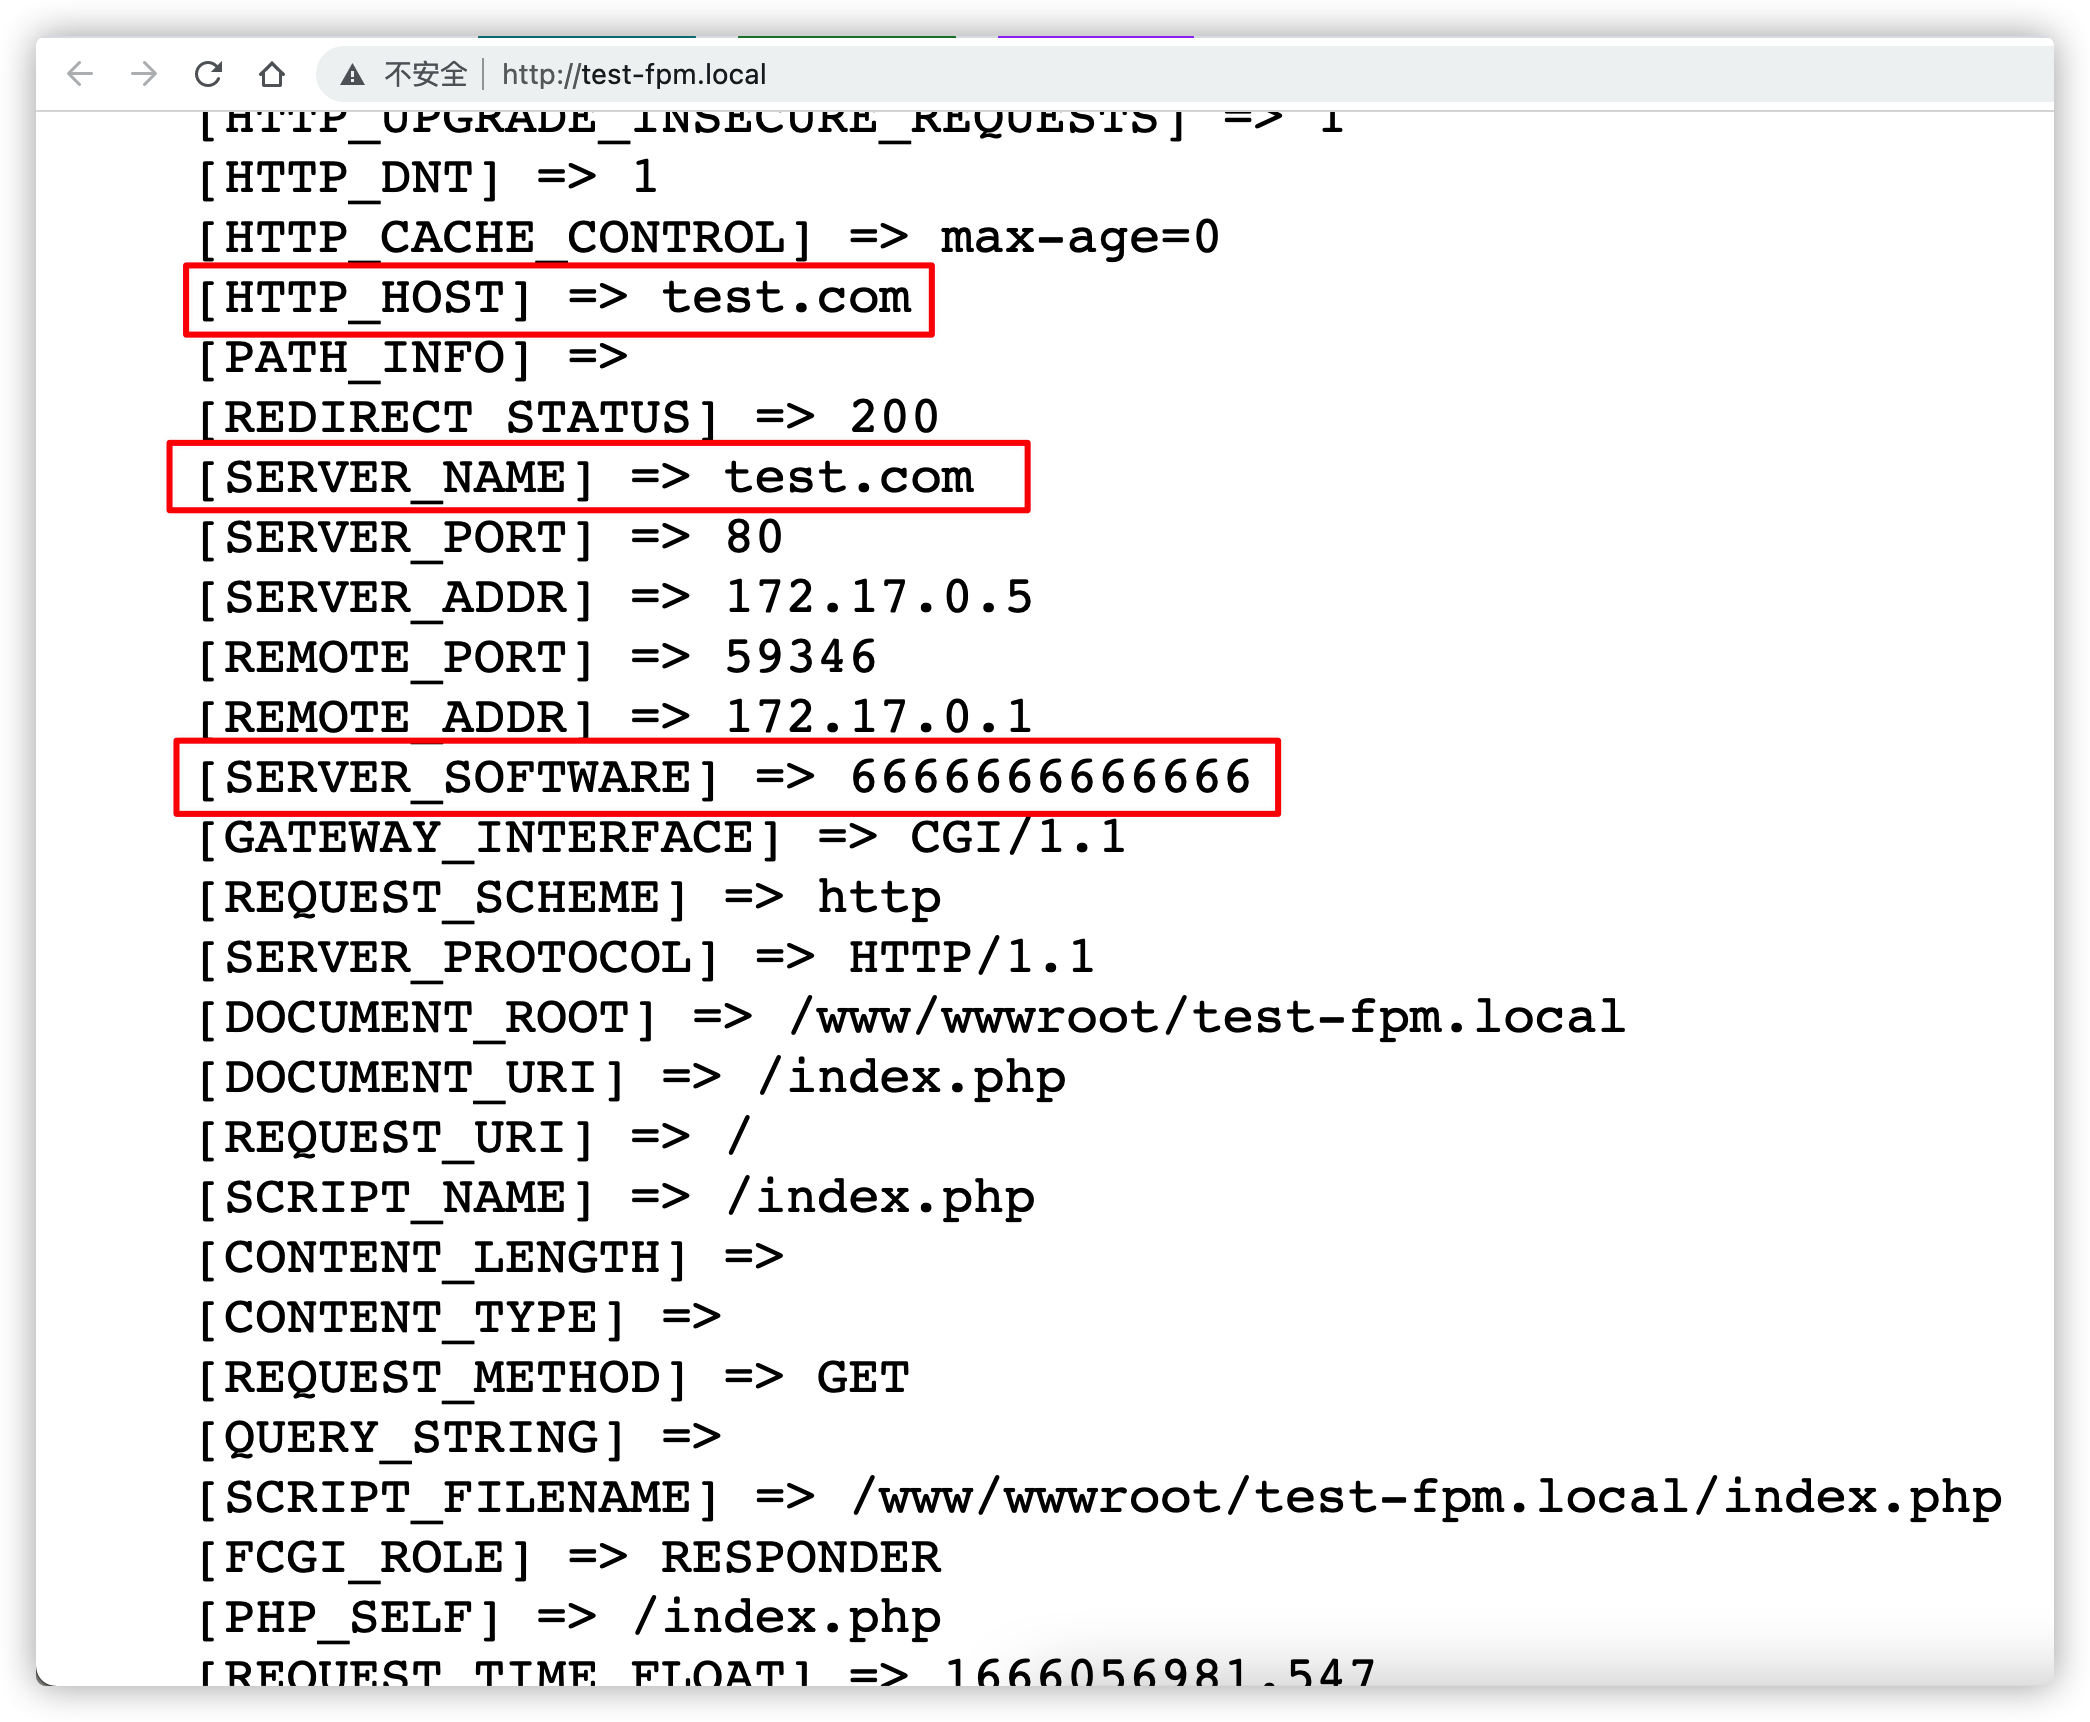
Nginx 层面修改 PHP-fpm HTTP_HOST、SERVER_NAME 等 作者: Shine 时间: 2022-10-18 分类: Nginx 评论 参考 Nginx 官方 FastCGI 例子:https://www.nginx.com/resources/wiki/start/topics/examples/fastcgiexample/ ```nginx location ~ [^/]\.php(/|$) { try_files $uri =404; fastcgi_pass unix:/tmp/php-cgi-80.sock; fastcgi_index index.php; include fastcgi.conf; include pathinfo.conf; fastcgi_param HTTP_HOST test.com; fastcgi_param SERVER_NAME test.com; fastcgi_param SERVER_SOFTWARE 6666666666666; } ``` 
Nginx 根据 Host 头转发请求到不同的后端服务器 作者: Shine 时间: 2022-10-15 分类: Nginx 评论 ## 问题 有一个很老很老的 Laravel 项目,很多东西都是写死的,就比如路由文件,直接写死了这个域名绑定哪个路由。 目前遇到的问题是,没有的测试、预发布环境,导致测试一些东西就非常麻烦,又因为如上面说的直接写死了「哪个域名绑定哪个路由」,也不敢改,怕出问题,能跑就行 /dog。 所以就想到了用 Nginx 来做一个反向代理,根据 Host 头来转发请求。 ## 部署 因为我想把代码部署到云服务器上,但是项目域名没有备案的,所以购买服务器的地域选择了 **香港**。 但是众所周知的原因,国内某些大厂云服务器商,回国线路很差,丢包、连不上,所以套了个 Cloudflare 加速访问 **所以最终架构如下:** > `shine.proxy` 是代理域名 > > `project.app` 是项目域名 - 访问 `shine.proxy` - Nginx 转发到 `project.app` - 访问 `api.shine.proxy` - Nginx 转发到 `api.project.app` **所以 Nginx 配置如下:** ```nginx server { listen 80; server_name shine.proxy api.shine.proxy; # 定义个变量 set $_proxy_host ''; # 判断 Host 等于 shine.proxy 时 # 将 project.app 值赋值给变量 $_proxy_host if ( $host = "shine.proxy" ) { set $_proxy_host project.app; } # 同上 if ( $host = "api.shine.proxy" ) { set $_proxy_host api.project.app; } location / { add_header X-Server-Env test always; proxy_http_version 1.1; proxy_set_header Connection ""; proxy_set_header X-Real-IP $remote_addr; proxy_set_header X-Real-PORT $remote_port; proxy_set_header X-Forwarded-For $proxy_add_x_forwarded_for; proxy_set_header Scheme $scheme; proxy_set_header Server-Protocol $server_protocol; proxy_set_header Server-Name $server_name; proxy_set_header Server-Addr $server_addr; proxy_set_header Server-Port $server_port; # 注意这里,重写反代的头 proxy_set_header Host $_proxy_host; # 代理到后端服务器 proxy_pass http://127.0.0.1; } } ```