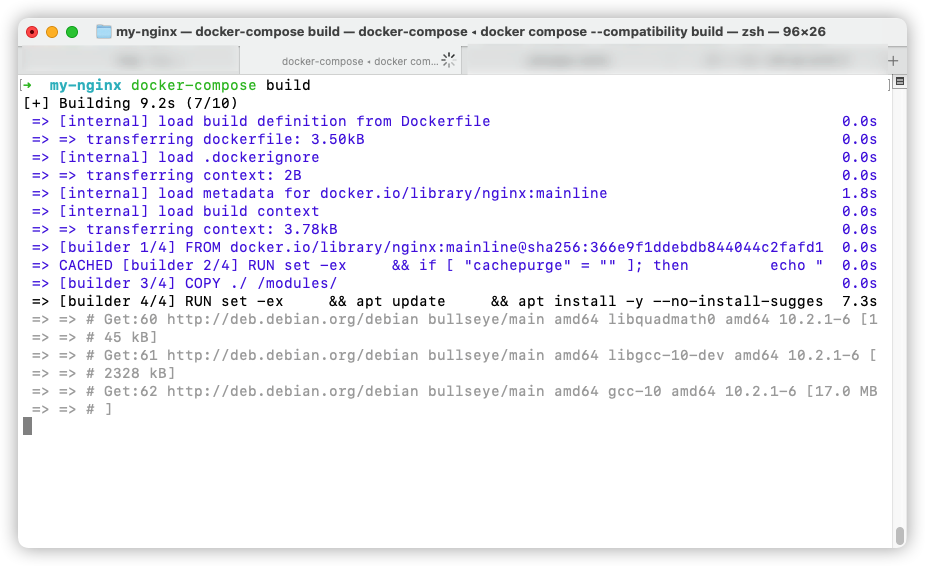
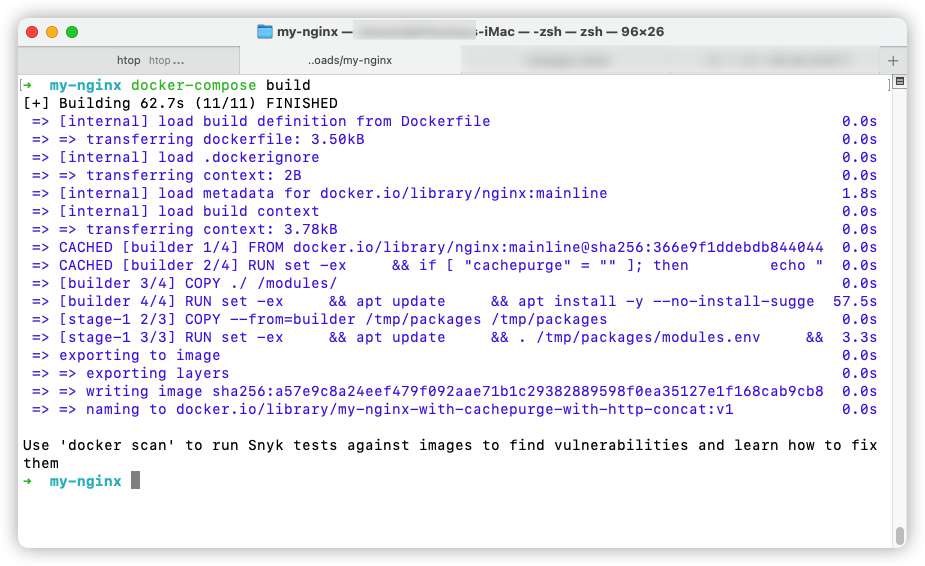
Docker Nginx 添加自定义的模块( nginx-http-concat、ngx_cache_purge) 作者: Shine 时间: 2021-12-28 分类: Docker # Docker Nginx 添加自定义的模块 [TOC] 官方文档说明:https://github.com/nginxinc/docker-nginx/tree/master/modules ## 起步 > 我按照官方文档来重新编译了十几次都没有成功,直到我在网上搜到了这么一篇文章:https://soulteary.com/2021/03/22/how-to-use-nginx-third-party-modules-efficiently-in-the-container-era.html > > 不知道什么时候,Nginx 支持了动态添加模块 `load_module`,所以我一去看 `/etc/nginx/modules` 目录,发现我编译的模块就在那里 > > 在 Google 用中文 英文都没有搜索到完整的 Docker 上添加自定义模块的(或者自己表述不正确),为了避免再次踩坑,故写下本文章 ## 这里以添加 nginx-http-concat 和 ngx_cache_purge 模块为例 > 我这里说的以官方文档为基础,然后侧重自己打包构建镜像 > > Tips: 你需要解决**上国外网站**的“问题”,不然构建会出现一些问题 1. 首先创建一个文件夹 ```shell mkdir my-nginx cd my-nginx ``` <!--more--> 2. 为自定义 nginx 镜像填充构建上下文 ```shell mkdir modules # 下载官方的 Dockerfile curl -o modules/Dockerfile https://raw.githubusercontent.com/nginxinc/docker-nginx/master/modules/Dockerfile # 添加 ngx_cache_purge 模块,文件夹名字是可以自定义的 mkdir modules/cachepurge # 这个模块链接不必多讲了,自己去 gitHub 找 echo "https://github.com/FRiCKLE/ngx_cache_purge/archive/2.3.tar.gz" > modules/cachepurge/source # 添加 nginx-http-concat 模块,文件夹名字是可以自定义的 mkdir modules/http-concat # 这个模块链接不必多讲了,自己去 gitHub 找 echo "https://github.com/alibaba/nginx-http-concat/archive/1.2.2.tar.gz" > modules/http-concat/source ``` 3. 创建 `docker-compose.yaml` 文件: > 请注意 `ENABLED_MODULES` 那一行,需要启用的模块,以空格分开 ```yaml cat > docker-compose.yaml << __EOF__ version: "3.3" services: web: build: context: ./modules/ args: ENABLED_MODULES: cachepurge http-concat image: my-nginx-with-cachepurge-with-http-concat:v1 __EOF__ ``` 4. 目录结构 ```shell ?/Users/nowtime.cc/Downloads/my-nginx ├── docker-compose.yaml └── modules/ ├── Dockerfile ├── cachepurge/ │ └── source └── http-concat/ └── source 3 directories, 4 files ``` ## 构建 > 你需要解决**上国外网站**的“问题”,不然构建会出现一些问题 > > 或者直接使用除大陆外的服务器进行操作 执行构建 `docker-compose build` 构建中...  构建完成  查看构建完成的镜像: ```shell ➜ my-nginx docker images REPOSITORY TAG IMAGE ID CREATED SIZE my-nginx-with-cachepurge-with-http-concat v1 a57e9c8a24ee About a minute ago 143MB ``` ## 运行,这个比较关键 如果你是直接运行刚刚编译好的 Nginx 容器,你添加的那些扩展默认是不会加载的,需要在 `/etc/nginx/nginx.conf` 首行加载模块 编辑 **nginx.conf** 文件 > Q:这个模块你怎么知道它的名字的?它的路径在哪里? > > A:真实路径在:`/usr/lib/nginx/modules` Nginx 软链接路径:`/etc/nginx/modules` ``` # 注意这里哦 load_module modules/ngx_http_cache_purge_module.so; load_module modules/ngx_http_concat_module.so; user nginx; worker_processes auto; error_log /var/log/nginx/error.log notice; pid /var/run/nginx.pid; events { worker_connections 1024; } http { include /etc/nginx/mime.types; default_type application/octet-stream; log_format main '$remote_addr - $remote_user [$time_local] "$request" ' '$status $body_bytes_sent "$http_referer" ' '"$http_user_agent" "$http_x_forwarded_for"'; access_log /var/log/nginx/access.log main; sendfile on; #tcp_nopush on; keepalive_timeout 65; #gzip on; include /etc/nginx/conf.d/*.conf; } ``` 假设你保存了我上述的文件,保存在了 `/Users/nowtime.cc/Downloads/nginx.conf` 使用 docker 命令运行容器即可: ```shell docker run -dit --rm \ --name=my-nginx \ -v /Users/nowtime.cc/Downloads/nginx.conf:/etc/nginx/nginx.conf \ --network=default \ -p 8122:80 \ my-nginx-with-cachepurge-with-http-concat:v1 ``` ## 验证 自己去想办法验证了 标签: Nginx, Docker